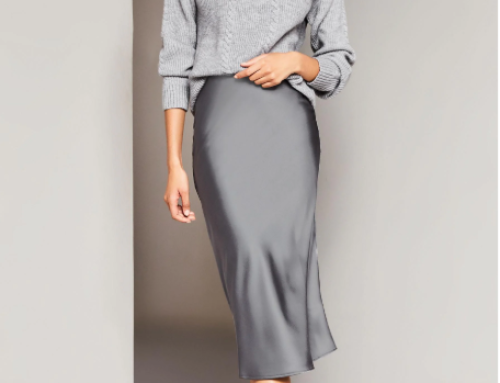
Summer is not over yet, and I have a last-minute DIY for you: an airy skirt with two elegant slits that you can sew without a pattern. All you need is the fabric of your choice, a tape measure, and about three hours of time. This simple yet stylish skirt is perfect for sewing beginners and consists only of rectangles.
To sew the skirt as you see in the picture here, you’ll need to know how to sew a buttonhole. If your sewing machine does not have this function, you can secure the openings in another way, such as by inserting eyelets.
Materials Needed:
– Fabric of your choice
– Tape measure
– Scissors
– Pins
– Thread
– Sewing machine
– Elastic (for the waistband)
– Buttonhole foot or eyelets
Instructions:
1. Measure and Cut the Fabric:
Start by measuring your waist and the desired length of your skirt. Add an extra inch to the waist measurement for seam allowance and a few inches to the length for the hem. Cut a large rectangle for the skirt body and two smaller rectangles for the side slits.
2. Create the Waistband:
Fold the top edge of your fabric down by about an inch and press with an iron. This will form the casing for your elastic. Sew along the folded edge, leaving a small opening to insert the elastic. Measure a piece of elastic to fit snugly around your waist, thread it through the casing, and sew the ends of the elastic together. Close the opening in the casing with a few stitches.
3. Sew the Side Seams and Slits:
Take the two smaller rectangles and sew them to the sides of the large rectangle, leaving a gap at the top for the slits. Sew the side seams of the skirt, starting from the bottom up to where you want the slits to begin. For the slits, hem the raw edges by folding them over twice and sewing them down.
4. Add Buttonholes or Eyelets:
To create the slits, you’ll need to sew buttonholes or insert eyelets at the top of each slit. If your sewing machine has a buttonhole function, use it to create buttonholes. Otherwise, you can insert eyelets using an eyelet tool. This will reinforce the openings and prevent fraying.
5. Hem the Skirt:
Fold the bottom edge of the skirt up by about half an inch, press, then fold up again by another half inch and press again. Sew along the folded edge to create a neat hem.
In just a few hours, you’ll have a beautiful, custom skirt perfect for warm summer days. This airy skirt with side slits is not only fashionable but also easy to make, making it a fantastic project for beginners. For picture tutorial and tutorial click here. Happy sewing!


Leave A Comment