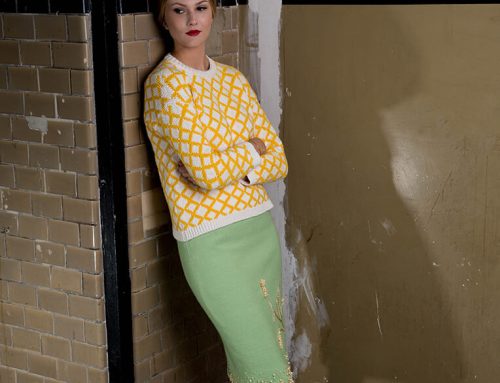
Like a wave rolling onto the shore, the soft folds framing the neck of this pullover constantly change their position. Together with the cutouts on the sleeves, they give this top a flirty and playful look. The sewing pattern is available in sizes 38 through 46, making it a chic addition to your wardrobe that’s both stylish and versatile.
Let’s dive into the step-by-step process of creating this eye-catching piece.
Materials Needed:
- Fabric: Lightweight knits such as jersey, bamboo, or modal blends. These fabrics drape beautifully and highlight the soft folds around the neckline.
- Thread: Matching thread for a seamless look.
- Sewing machine with a stretch or ballpoint needle.
- Scissors, pins, and measuring tape.
- Pattern paper (if needed to trace the pattern).
Sewing Instructions:
1. Preparing Your Pattern:
- Download and print the sewing pattern for sizes 38 to 46 here. Verify the scale and refer to the size chart for proper measurements.
- Cut out the pattern pieces, which include the front, back, sleeves, and neck drape.
2. Cutting the Fabric:
- Lay your fabric flat on a cutting surface, ensuring there are no wrinkles.
- Pin the pattern pieces onto the fabric, aligning them with the grainline as indicated. Pay special attention to the neckline drape pieces, as their placement will affect the final look.
- Cut out all fabric pieces, adding a 1 cm (3/8 inch) seam allowance if it is not included in the pattern.
3. Assembling the Pullover:
- Shoulder Seams: Begin by sewing the front and back pieces together at the shoulders with a stretch stitch or serger. This forms the base of your pullover.
- Neckline Folds: Attach the neckline drape pieces as per the pattern’s instructions. These pieces should create soft, cascading folds around the neckline. Pin them in place carefully to ensure an even drape.
- Sleeve Cutouts: Prepare the sleeve pieces by creating the cutout openings. Fold and stitch the edges of the cutouts to give them a clean, finished look.
4. Joining the Sleeves:
- Align the sleeve notches with the armholes and pin them in place. Sew the sleeves to the body of the pullover, taking care to avoid puckering.
5. Sewing the Side Seams:
- With the right sides together, sew the side seams from the hemline to the sleeve cuffs in one continuous seam. Use a stretch stitch for durability.
6. Finishing Touches:
- Hem: Fold the bottom hem and sleeve cuffs up by 1 cm (3/8 inch) and stitch them using a twin needle for a polished look.
- Cutout Edges: Ensure all cutout edges are neatly finished to prevent fraying.
Complete your pullover and enjoy its stylish, versatile design!



Leave A Comment